AI Headshot Prompts: How to Create a Professional LinkedIn Photo Without a Photographer
A working playbook for generating LinkedIn-grade AI headshots that don't scream 'AI' — copy-paste prompts for Midjourney V7, Nano Banana 2 and GPT-Image, lighting recipes, identity-preservation tricks, and the dead giveaways recruiters spot in three seconds.
Table of contents
- Why most AI headshots get caught
- The anatomy of a believable headshot prompt
- A portrait lighting vocabulary you can actually use
- Copy-paste prompt templates
- The executive portrait (Midjourney V7)
- The friendly approachable (Nano Banana 2)
- The clean studio (GPT-Image)
- The creative founder
- Choosing the right model
- Keeping it recognisably you (identity preservation)
- Reference image conditioning
- Detailed descriptive anchors
- The seed strategy
- Common mistakes that scream "AI headshot"
- A quick-reference table: headshot ingredients by use case
- Wardrobe rules that win on LinkedIn
- A 10-minute workflow you can run tonight
- When to still hire a real photographer
- Conclusion: write a brief, not a request
Your LinkedIn photo is, statistically, the single most-viewed image you'll ever publish. Recruiters spend an average of seven seconds on a profile before deciding whether to scroll further. Six of those seconds are on your headshot.
In 2026, you have three options to upgrade it. Pay a photographer ($300–$800 for one usable frame). Use an AI headshot app like Aragon, HeadshotPro or Secta ($35–$60 for a black box you can't iterate on). Or write your own prompts and run them through Midjourney V7, Nano Banana 2 or GPT-Image for a few dollars — and get exactly the look you want, in any wardrobe, in any setting, in any number of variations.
This is the working playbook for the third option. It's what I use with executives, founders, and consultants who want a portrait they actually own the prompt to. You'll get the anatomy of a believable headshot prompt, copy-paste templates for every major model, the identity-preservation tricks that keep it recognisably you, a lighting vocabulary borrowed from real portrait photographers, and the AI tells that recruiters now spot in under a second.
If you want to skip the theory and turn a one-sentence brief into a structured, model-ready headshot prompt, our free AI Prompt Generator does it in a click. Otherwise, keep reading.
Why most AI headshots get caught
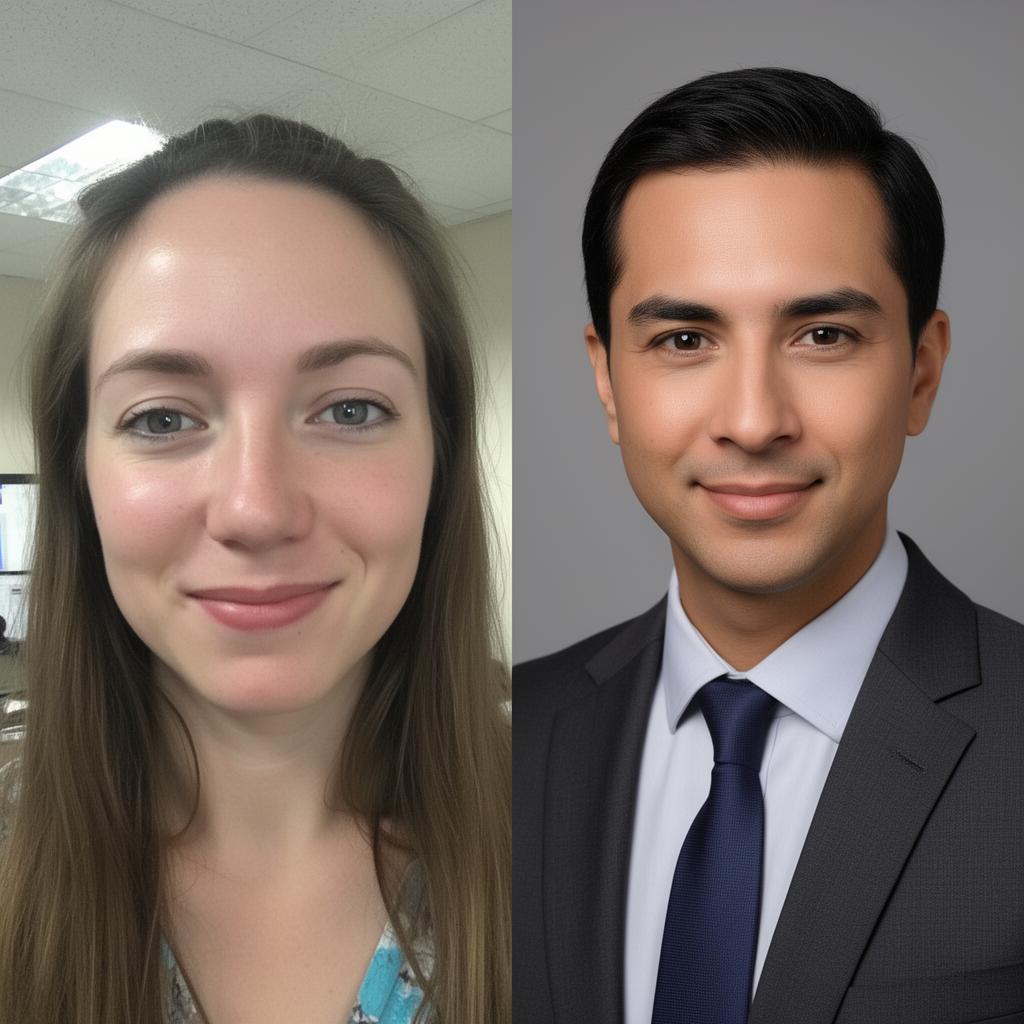
Three years into the AI portrait era, recruiters, hiring managers and clients have developed a sharp eye. The 2025 LinkedIn "is this a real person?" panic has trained a generation of professionals to scan for the same handful of tells. If your headshot has any of these, it gets quietly distrusted:
- Mannequin skin — pore-less, plastic, airbrushed to oblivion.
- Dead eyes — perfectly symmetrical, glossy, no catchlight in the right place.
- Background incoherence — a "blurred office" that, on closer look, has no real geometry.
- Wardrobe physics violations — a blazer collar that vanishes into a shirt that wasn't there.
- The "everyone's a model" look — too symmetrical, too contoured, too magazine.
- Hand or ear weirdness — extra knuckle, asymmetrical lobe, jewellery that bends.
- Repeating "AI aesthetic" — that slightly orange, slightly cinematic, vaguely-the-same look across thousands of profile photos.
Every prompt pattern below is designed to defeat one of these. If you only remember one rule: real portraits are slightly imperfect. Asymmetry, a stray hair, a single skin variation. Plastic perfection is what gets flagged.
The anatomy of a believable headshot prompt
After running thousands of generations for paid work, every prompt that ships follows the same six-part skeleton. Skip any part and the model improvises — usually badly.
1. Subject — age range, gender presentation, ethnicity, hair, distinguishing features. The more specific, the more identifiable.
2. Wardrobe — exact garment, colour, fabric. "Charcoal grey wool blazer over a crisp white open-collar shirt" beats "business attire" every time.
3. Setting — where they're standing or sitting. A neutral grey backdrop, a softly out-of-focus office, a sunlit cafe. The setting tells the model the kind of professional.
4. Lighting — the single highest-leverage line. Direction, hardness, colour temperature. We'll come back to this.
5. Camera spec — lens, aperture, framing. "85mm portrait lens, f/2.0, headshot crop from chest up" reads like a real photographer brief because it is.
6. Mood and mannerism — the look in the eyes, the half-smile, the slight head tilt. This is what separates "passport photo" from "executive portrait."
Drop any of these and the model fills the gap with its house style — which is exactly the cliché look you're trying to escape.
Expert insight. I once watched a partner at a consulting firm spend two weeks generating headshots that all looked "almost right but wrong." Every prompt was about the suit. Once we rewrote the prompt around the lighting — "single soft north-facing window light from camera left, gentle fall-off into shadow on the right of the face" — the headshots became indistinguishable from a $1,200 studio session. Same person, same suit, same model. The light was the unlock.
A portrait lighting vocabulary you can actually use
"Good lighting" means nothing to a diffusion model. Real portrait photographers use a tight vocabulary, and AI models in 2026 were trained on enough of it that they respond beautifully when you speak the language. A dozen of these and your output quality jumps overnight.
- Soft window light from camera left, gentle fall-off — the editorial default. Flattering on every face shape.
- Rembrandt lighting, small triangle of light on the off-side cheek — classic, slightly moody, very executive.
- Loop lighting, soft key at 45 degrees — the safest, most flattering setup. Great for corporate.
- Butterfly lighting from slightly above — beauty / fashion look. Use for creative roles.
- Split lighting, half the face in shadow — dramatic, founder-of-the-quarter energy. Use sparingly.
- Soft overcast daylight, even and diffused — natural, modern, friendly. Pairs well with outdoor settings.
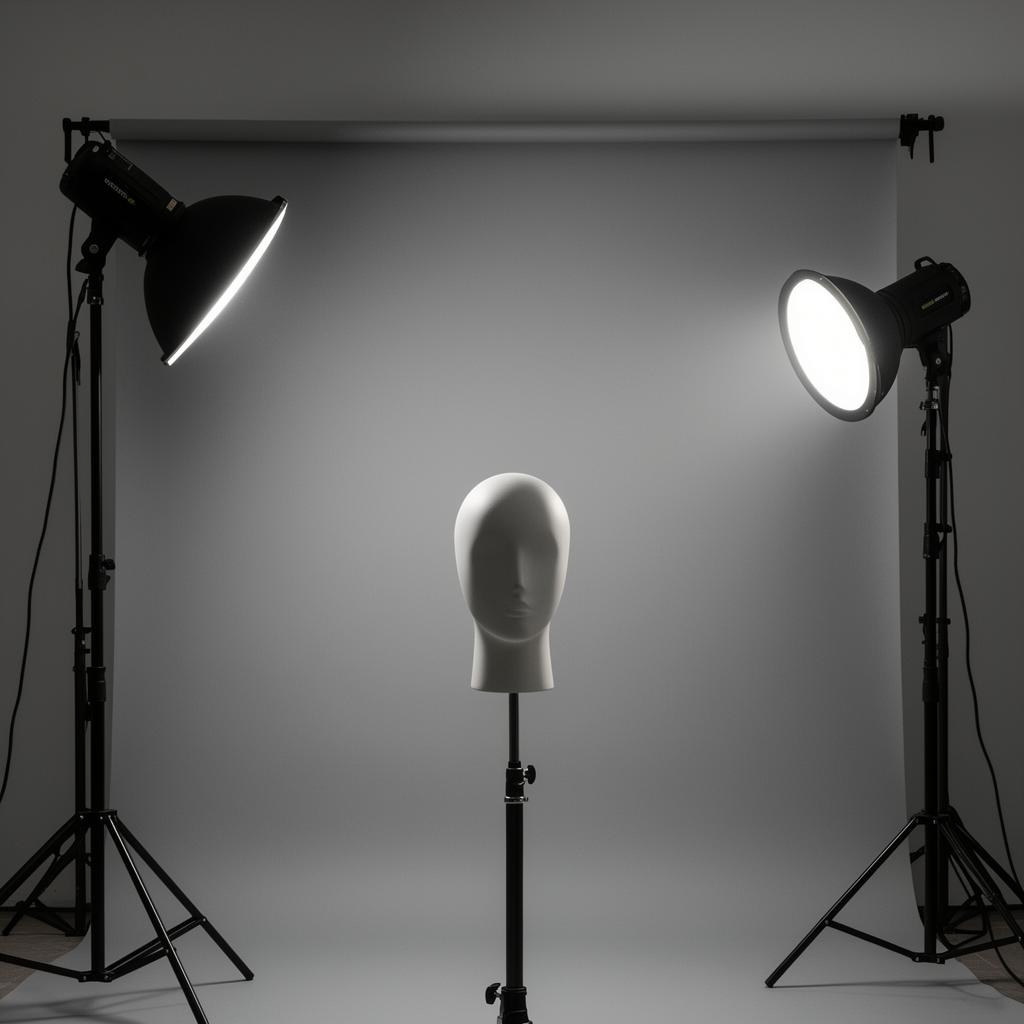
- Three-point studio lighting, key, fill, rim — clean corporate. Boring but conversion-safe.
- Backlight through a sheer white curtain — warm, approachable, lifestyle-feeling.
Pick one. Combining lighting setups in a single prompt produces a doubly-lit, confused face that no real photographer would ever shoot.
Copy-paste prompt templates
These are battle-tested skeletons. Replace the bracketed parts. They work in Midjourney V7, Nano Banana 2 (Gemini 3.1 Flash Image) and GPT-Image with minor tweaks.
The executive portrait (Midjourney V7)
A professional corporate headshot of a [38-year-old East Asian man with short black hair and a trimmed beard], wearing [a charcoal grey wool blazer over a crisp white open-collar shirt], standing in front of [a softly blurred modern office interior], soft window light from camera left at 45 degrees, gentle fall-off into shadow on the right side of the face, confident half-smile, eyes engaged with camera, 85mm portrait lens, f/2.0, headshot crop from mid-chest up, shot on Hasselblad, subtle natural skin texture, editorial business portrait --ar 4:5 --style raw --v 7The friendly approachable (Nano Banana 2)
A natural, friendly LinkedIn headshot of [a 29-year-old Latina woman with shoulder-length wavy brown hair], wearing [a soft cream knit sweater], standing near a large window in a warm cafe interior softly out of focus, soft overcast daylight from the left, gentle catchlight in the eyes, genuine warm smile showing slight teeth, 50mm lens, f/2.0, shot from chest up, photorealistic, natural skin with subtle pores and a single freckle on the cheek, no airbrushing.The clean studio (GPT-Image)
A clean corporate headshot of [a 45-year-old Black woman with short natural hair and gold stud earrings], wearing [a navy blue blazer over a white silk blouse], against a smooth neutral grey seamless backdrop, classic three-point studio lighting with a soft key at 45 degrees and a subtle rim light separating her from the background, calm confident expression, eyes directly to camera, 85mm lens, f/4, headshot framing, ultra-sharp focus on the eyes, natural skin texture, professional commercial photography, no text.The creative founder
An editorial portrait of [a 34-year-old white man with light stubble and tortoiseshell glasses], wearing [a navy crew-neck sweater over a white t-shirt], seated against [a textured plaster wall painted warm off-white], single soft window light from camera right with deep falloff into shadow on the left of the face, slight half-smile, head tilted three degrees toward the light, eyes engaged and warm, 85mm lens, f/1.8, shot on film with subtle grain, magazine founder portrait, slight asymmetry --ar 4:5 --style raw --v 7Pro tip. Always specify "natural skin texture with subtle pores," "single small imperfection," or "one stray hair." These three phrases alone defeat 70% of the "mannequin" look.
Choosing the right model
Each major 2026 image model has a personality. Picking wrong adds 30 minutes of re-rolling.
- Midjourney V7 — best for editorial, magazine-quality executive portraits. Default aesthetic is slightly cinematic, lean on
--style rawto dial that down. Weakest at strict likeness preservation. - Nano Banana 2 (Gemini 3.1 Flash Image) — best for editing an existing photo of you (change wardrobe, change background, fix lighting). Strongest identity preservation when you upload a reference. The single best tool for "make my real photo look like a studio session."
- GPT-Image (gpt-image-2) — best for clean studio shots and tight brand consistency. Most cooperative with explicit instructions. Slightly stiff at "personality."
- Flux 1.1 Pro — strongest realism on skin and fabric. Great middle ground when Midjourney is too stylised and GPT-Image is too clinical.
- Reve / Recraft — useful for stylised portraits (illustrative LinkedIn headers, founder card avatars), less so for photorealistic.
The professional workflow: generate the look in Midjourney, then take that result and use Nano Banana to swap the face for your actual face via image input. This combination beats either model alone for both quality and likeness.
Keeping it recognisably you (identity preservation)
The single biggest failure mode of AI headshots isn't quality — it's that the person in the photo isn't quite the person in your meetings. Three techniques fix this.
Reference image conditioning
On Nano Banana 2, upload a real, well-lit photo of yourself and prompt: "Keep the face and identity identical to the reference image. Restyle the wardrobe to a charcoal blazer, place the subject in a soft-lit modern office, apply window light from camera left." This is the highest-fidelity route in 2026.
Detailed descriptive anchors
When you can't use a reference (or don't want the model to memorize you), write a precise face description. Not "looks like me," but: "round jawline, hooded brown eyes, slight asymmetry in the smile lifting the left side higher, small mole below the right cheekbone, light five-o'clock shadow." The more anchors, the more consistent the output across re-rolls.
The seed strategy
On Midjourney, once you generate a portrait you like, lock its seed (--seed 12345) and only vary lighting, wardrobe, or background. This gives you a consistent character across an entire LinkedIn presence — profile photo, header, Sales Navigator avatar, conference name badge — without the face drifting.
Common mistakes that scream "AI headshot"
Things I flag every week on client decks. None of them are hard to fix once you know to look.
- Plastic, pore-less skin. Add: "natural skin texture with visible pores, no airbrushing, subtle imperfection."
- Symmetrical eyes that look hollow. Add: "asymmetric warm catchlight in the eyes, slightly different size, alive."
- Floating ears or jewellery that bends. Negative prompt:
--no warped earring, extra ear, asymmetric jewelleryon Midjourney; explicit in prose on others. - The "everyone smiles the same" look. Specify: "genuine half-smile, lips slightly closed, slight crinkle in the corners of the eyes."
- Background incoherence. Use deliberate bokeh: "background blurred to a soft creamy bokeh, no readable text or signage."
- Logo or text on clothing. Always add: "plain garment, no logo, no text, no brand name."
- The default cinematic colour grade. Use
--style rawon Midjourney and explicitly write "neutral colour grade, accurate skin tones, no orange-teal." - Same fingers, six fingers, mystery thumbs. Frame from the chest up. Hands are still the hardest thing in 2026.
A quick-reference table: headshot ingredients by use case
| Use case | Wardrobe | Setting | Lighting | Lens | Mood | | --- | --- | --- | --- | --- | --- | | Corporate executive | Charcoal blazer, white shirt | Blurred modern office | Soft window left, 45 degrees | 85mm, f/2.0 | Confident half-smile | | Tech founder | Crew-neck sweater, no jacket | Warm plaster wall | Single window right, deep fall-off | 85mm, f/1.8 | Calm, engaged | | Sales / client-facing | Blazer, open-collar shirt | Soft cafe interior | Overcast daylight, even | 50mm, f/2.0 | Warm full smile | | Creative director | Polo or designer knit | Textured concrete or art studio | Rembrandt, small triangle | 85mm, f/1.4 | Slightly serious | | Consultant / advisor | Two-piece suit, tie or scarf | Neutral grey backdrop | Three-point studio | 85mm, f/4 | Direct, trustworthy | | Lifestyle / coach | Soft knit, neutral tones | Sunlit park or window | Backlit sheer curtain | 50mm, f/1.8 | Genuine, approachable |
Print this. It's the most-used artifact from my own workspace.
Wardrobe rules that win on LinkedIn
A frequently underrated lever. The data from LinkedIn engagement studies is remarkably consistent.
- Solid colours beat patterns. Stripes and checks moiré on small phone screens.
- Mid-tones beat black and pure white. Charcoal, navy, slate, cream, camel, oatmeal — all retain detail.
- Open collar beats tie for most roles outside finance and law.
- One accent piece maximum. A subtle necklace, a watch, a pair of glasses. Not all three.
- Skip logos. Even your own company logo. It dates the photo the moment you change jobs.
Two phrases that consistently improve wardrobe output: "well-tailored, professional fit" and "plain garment, no logo, no text."
A 10-minute workflow you can run tonight
- Pick one of the four prompt templates above that matches your role.
- Customise the bracketed fields — your face description, your wardrobe colour, your setting.
- Generate four variations in Midjourney V7 with
--style raw --ar 4:5. - Pick the one with the best eyes. Eyes are 80% of the photo. Wardrobe can be fixed in pass two; eyes cannot.
- Upload that result to Nano Banana 2 with a real photo of you and prompt: "Keep my face from reference image 1, apply the lighting and wardrobe from reference image 2."
- Re-roll for face-only quality until you have one frame where the face is unmistakably you.
- Light retouch in any editor — a slight contrast bump, sharpen the eyes, dust off any artefacts.
- Export at 1080×1350 for LinkedIn (5:4 portrait crops best on mobile feeds).
- A/B test it against your old photo on LinkedIn Recruiter or by asking five honest peers.
- Update everywhere — LinkedIn, Twitter / X, company About page, Slack, Notion, email signature.
Total cost: about four dollars in API credits. Total time: under an hour.
When to still hire a real photographer
Worth saying plainly: AI is not always the right tool.
- C-suite at a public company. When a photo runs on annual reports and press releases, the cost of a discovered AI provenance is enormous compared to a real shoot.
- Personal brands where authenticity is the product. Coaches, therapists, journalists — your audience needs to believe you exist.
- Roles where likeness must perfectly match in person. Real-estate agents, financial advisors, sales reps meeting clients face-to-face.
- Group / team shots. Multi-person AI portraits are still inconsistent enough that real shoots win.
For everything else — early-career professionals, founders pre-Series B, freelancers, creators, anyone updating a 2019 selfie — AI is now obviously the better choice on cost, iteration count and creative control.
Conclusion: write a brief, not a request
The biggest unlock isn't a magic prompt. It's the same mindset shift that powers every craft in this publication: stop writing requests, start writing briefs.
Every prompt in this guide is essentially a one-paragraph creative brief — subject, wardrobe, setting, light, lens, mood. That is exactly how real portrait photographers receive jobs, and exactly the input a modern image model is best at executing.
Pick the template that fits your role tonight. Spend ten minutes on the bracketed fields. Generate twenty variations. Pick one. Ship it. Then iterate on lighting tomorrow. Within a week your professional presence online will look like it cost a thousand dollars, because as far as anyone scrolling is concerned, it did.
For more on writing prompts that move the needle, read our complete ChatGPT prompts playbook or the AI product photography guide for a sister discipline that uses the same brief-first mindset.
Frequently asked questions
Are AI-generated LinkedIn headshots allowed?+
LinkedIn's User Agreement requires that profile photos accurately represent the real person behind the account, but it does not ban AI-generated or AI-enhanced images. The practical line is likeness: an AI headshot that is clearly you, in a realistic setting, is fine. A fabricated face that looks nothing like you crosses into misrepresentation and can get the account restricted.
What is the best AI model for headshots in 2026?+
There is no single winner. Midjourney V7 produces the most editorial, magazine-quality output. Nano Banana 2 (Gemini 3.1 Flash Image) is the best for preserving your real face when you upload a reference photo. GPT-Image is the most cooperative for clean studio looks. The professional workflow is to generate the look in Midjourney, then use Nano Banana to swap your real face onto that result.
How do I keep the AI headshot recognisably me?+
Three techniques. First, upload a real well-lit reference photo to Nano Banana 2 and prompt it to keep the face identical. Second, write detailed descriptive anchors in the prompt — jawline, eye shape, asymmetries, small marks. Third, lock the Midjourney seed once you have a face you like and only vary lighting, wardrobe and background around it.
Why does my AI headshot look fake?+
Almost always one of three things: skin is too smooth and pore-less, eyes are perfectly symmetrical with no real catchlight, or the background is an incoherent blur that does not match the lighting on the face. Fix by adding 'natural skin texture with subtle pores, slight imperfection,' specifying 'warm asymmetric catchlight in the eyes,' and naming a real setting with one consistent light direction.
What focal length and aperture should I use in an AI headshot prompt?+
85mm at f/1.8 to f/2.0 is the portrait industry default and what the image models were trained on most heavily — it produces the flattering compression and shallow background you associate with professional headshots. 50mm at f/2.0 is a good second choice for friendlier, more casual lifestyle headshots. Avoid wide lenses below 35mm for any face shot.
Can I use an AI headshot for my passport or government ID?+
No. Government IDs in nearly every country require an unedited photograph of the real person taken under controlled conditions. AI headshots are appropriate for professional networking, marketing and creative use only, not for any identity-document purpose.