AI Food Photography Prompts: The Editorial Playbook for Midjourney and Nano Banana 2
Stop generating sad, plasticky AI food. A working prompt playbook for editorial-grade food photography: the five-part recipe, lighting that actually looks like a camera, styling tricks pros use, and copy-paste prompts for menus, cookbooks, and social.
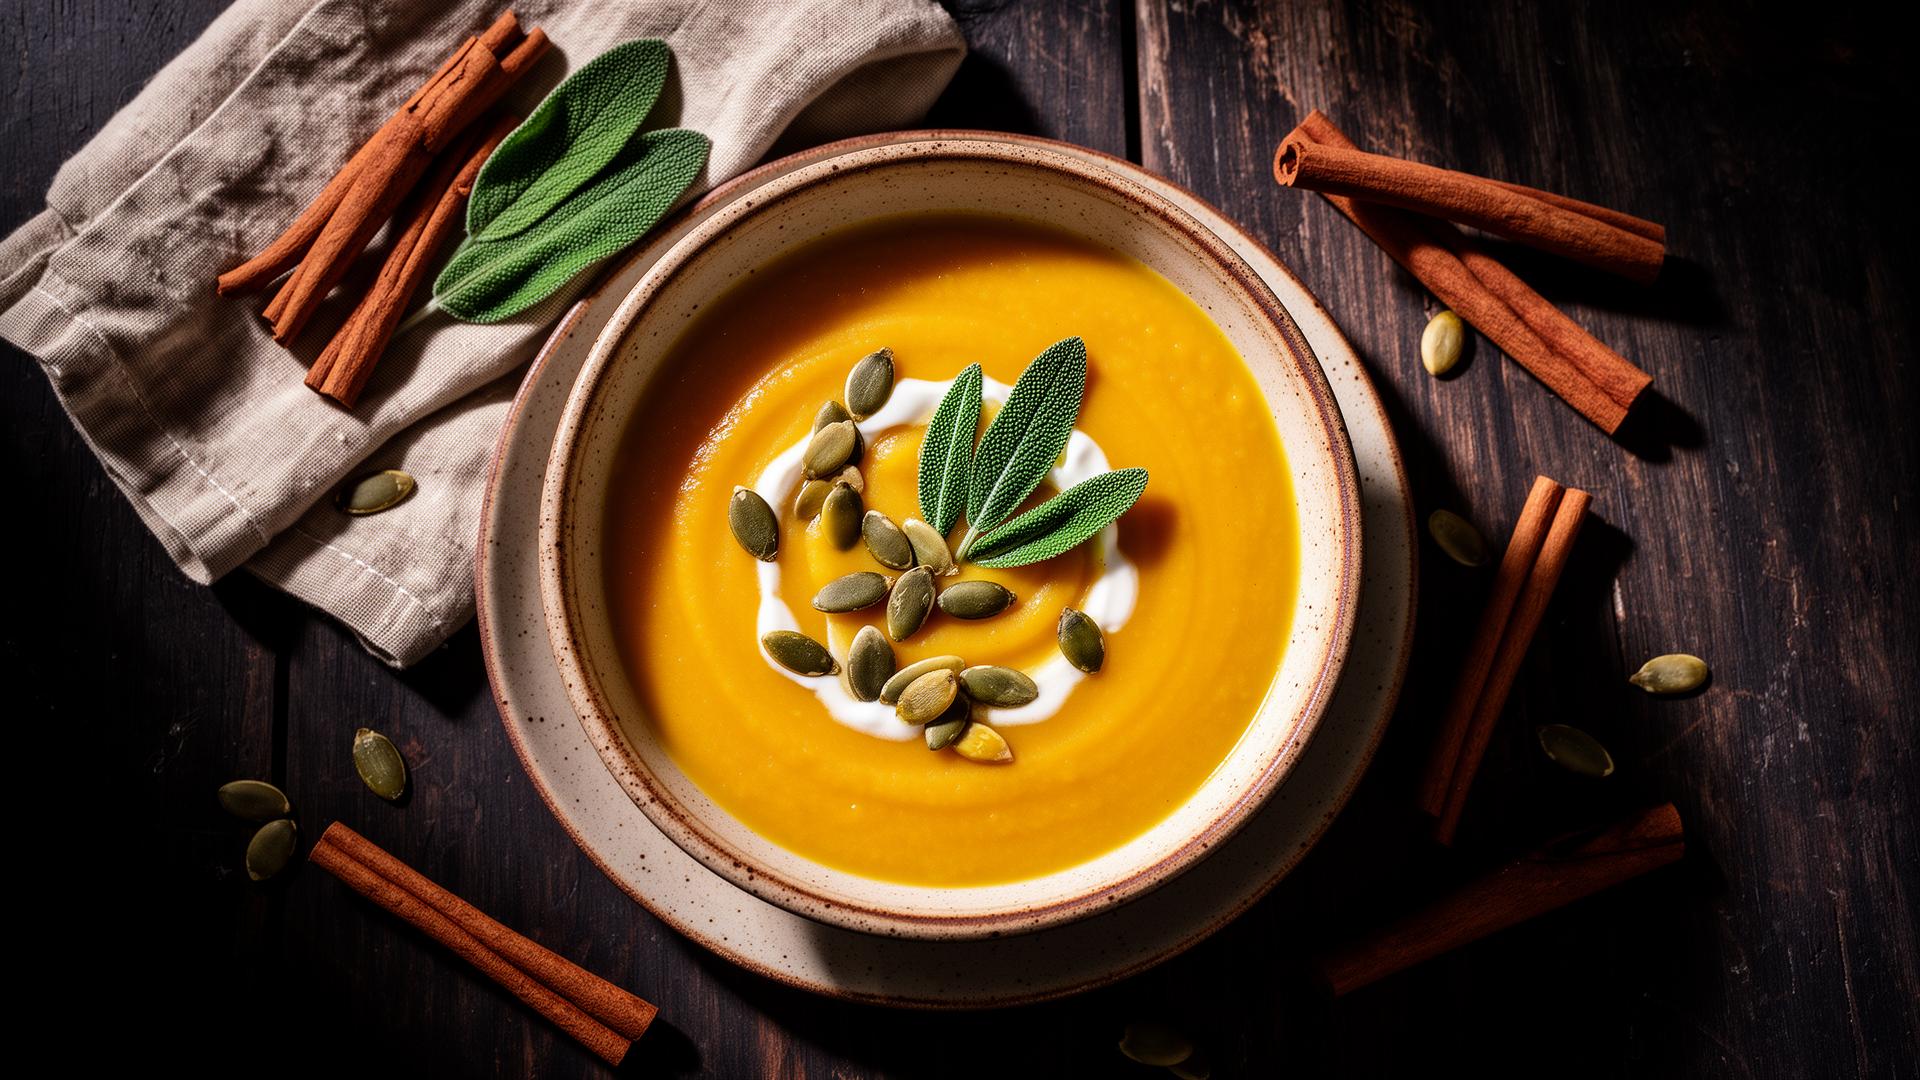
Table of contents
- Why most AI food photos look fake
- The five-part food prompt recipe
- Why order matters
- Lighting: the single biggest lever
- Soft side window light (the daylight look)
- Hard backlight (the glossy hero look)
- Bright and airy overhead (the breakfast / brunch look)
- Low-key dramatic (the dinner / steakhouse look)
- Camera language the models actually understand
- Angles by dish type
- Styling tricks that pull the frame into reality
- Copy-paste templates by use case
- Restaurant menu hero shot
- Cookbook recipe page
- Social media (Instagram square)
- Dark and moody hero (steakhouse, cocktail bar)
- Bright and airy breakfast / cafe
- Midjourney V7 vs Nano Banana 2 for food
- Midjourney V7
- Nano Banana 2
- The finishing details that separate AI from editorial
- A worked end-to-end example
- The takeaway
Most AI food photography looks like food. It does not look like photography. The dish is identifiable, the colors are roughly right, and absolutely nothing about it makes you hungry. The lighting is flat, the styling is sterile, the camera is invisible, and the whole frame has that uncanny "AI render of a plate" energy that no restaurant, cookbook or food brand can actually use.
The good news: food is one of the categories where 2026 image models genuinely shine — if you prompt them like a food photographer instead of a search engine. This playbook is the working version of what I use with restaurants, recipe creators and food brands shipping real menus and cookbooks with Midjourney V7 and Nano Banana 2.
Why most AI food photos look fake
Type "delicious burger, professional food photography" into any model and you'll get a perfectly symmetrical, evenly lit, plastic-looking burger floating in a soft beige nowhere. It reads as AI in under a second. The problem isn't the model. It's the prompt. You've asked for a subject and a vibe. You haven't told the model:
- What kind of plate, surface and props
- Where the light is coming from and how hard it is
- What camera, lens and angle you're imagining
- How the food is styled — garnish, condensation, crumbs, action
- What mood the frame should evoke
Miss those and the model defaults to its safest, most generic food image. Hit them and it suddenly behaves like a working food photographer.
The five-part food prompt recipe
The skeleton I reach for on every shot:
[Dish + key ingredients with texture], on [surface and props], [lighting setup with direction and quality], [camera + lens + angle], [styling and action details], [mood and color palette], editorial food photography, hyperrealistic, magazine quality
Worked example:
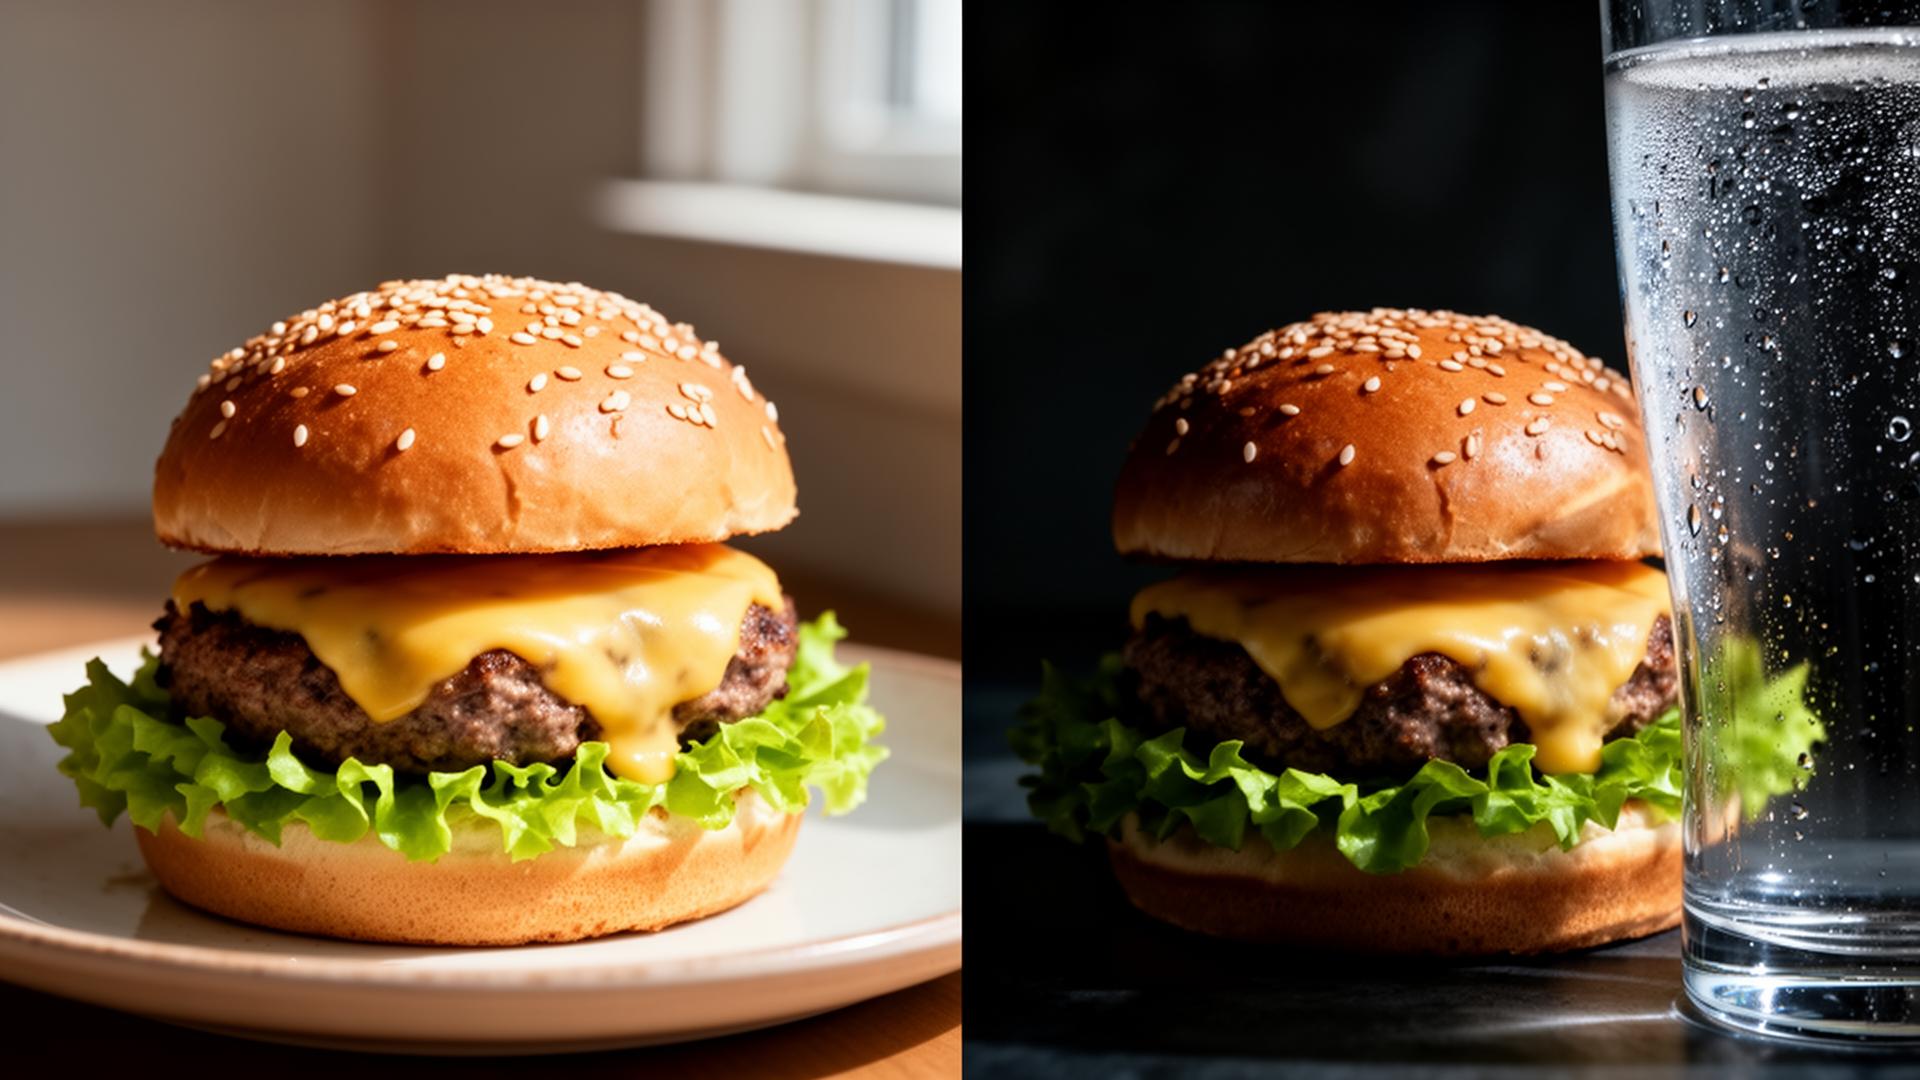
A juicy double smash burger with melted American cheese dripping down the side, charred edges, sesame brioche bun with visible flour dust, on a black slate board with scattered sea salt flakes and a small ramekin of burger sauce, dramatic side window light from the left with soft fall-off into shadow, shot on a 50mm lens at f2.8 from a low 30-degree hero angle, glossy melted cheese pull and a single drop of sauce mid-fall, dark moody warm palette with deep amber highlights, editorial food photography, hyperrealistic, magazine quality
Five slots, comma-separated, in that order. Run it once, swap one variable at a time, and you'll dial in a look quickly.
Why order matters
Image models weight the first tokens hardest. Lead with the dish and its textures — charred edges, melted cheese, sesame brioche — and the model builds the rest of the frame to make the food the hero. If you lead with "moody food photography in the style of Bon Appetit", you'll get a beautifully lit nothing.
Tip: Always include at least one texture word per ingredient. Crispy. Charred. Glossy. Flaky. Crumbly. Glistening. Powdered. Caramelized. Texture is what separates food from food photography.
Lighting: the single biggest lever
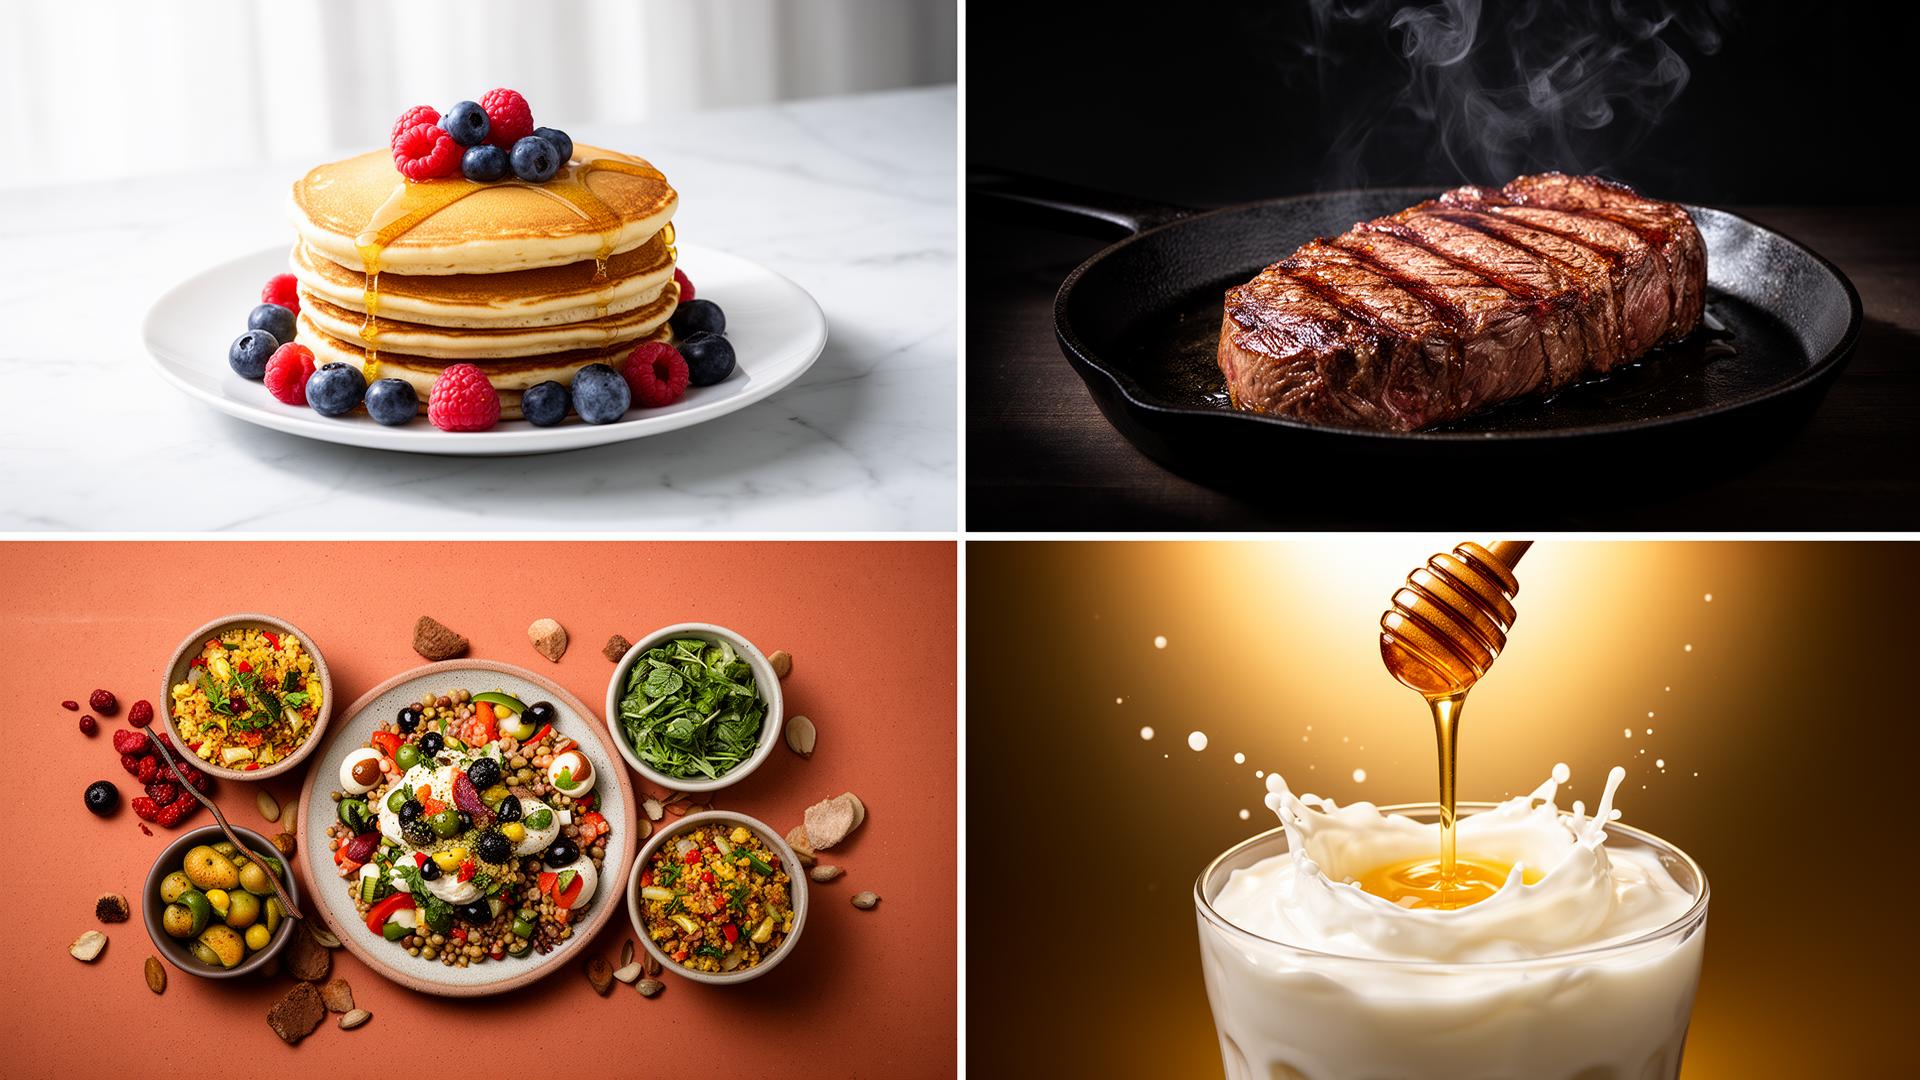
Lighting is what makes food photography photography. Get the light language right and even a simple dish looks editorial. The four lighting setups that cover ninety percent of real food shoots:
Soft side window light (the daylight look)
The most-used lighting in modern food photography. Light from one side, soft fall-off into shadow, no fill. Triggers: soft natural window light from the left, gentle directional shadow, no fill, slightly underexposed background, daylight color temperature.
Hard backlight (the glossy hero look)
For burgers, ramen, anything with sheen, sauce or steam. Triggers: strong backlight rim-lighting the food from behind, glossy highlights on sauce and oil, visible steam rising, dark moody background, deep contrast.
Bright and airy overhead (the breakfast / brunch look)
For pancakes, salads, smoothies, anything "fresh". Triggers: bright soft overhead daylight, white marble surface, even illumination with minimal shadow, high-key bright palette, airy and clean.
Low-key dramatic (the dinner / steakhouse look)
For steak, dark sauces, red wine, anything indulgent. Triggers: single warm tungsten light from the upper right, deep shadows falling into black, chiaroscuro lighting, rich amber and burgundy palette, restaurant interior mood.
Warning: Avoid the word "professional lighting". It triggers a flat, overlit studio look — the stock-photo aesthetic that screams AI. Always describe the light: direction, hardness, color temperature.
Camera language the models actually understand
Both Midjourney V7 and Nano Banana 2 respond well to specific camera terms. Vague prompts get vague photos. Use this vocabulary:
- Lens: 50mm prime, 85mm portrait lens, 100mm macro lens, 35mm wide. Macro for tight texture shots, 50mm for hero plating, 85mm for compressed background blur.
- Aperture: f1.8 for shallow depth of field, f2.8 for hero plating, f5.6 to keep the whole dish sharp.
- Angle: flat lay 90-degree overhead, low 15-degree side angle, classic 45-degree three-quarter, eye-level hero shot.
- Distance: tight macro crop on the texture, mid-shot of the full plate, wide environmental shot showing the table setting.
Combine them. "Shot on an 85mm lens at f2.0 from a low 15-degree side angle, tight crop on the cheese pull" gives the model a very precise visual brief.
Angles by dish type
- Burgers, sandwiches, layered desserts: low side angle, 15 to 30 degrees. Show the layers.
- Bowls, salads, pasta, pizza: 45-degree three-quarter or full overhead. Show the contents.
- Drinks, cakes, tall plating: eye-level or slight low angle. Heroic and architectural.
- Tables, spreads, mezze, picnics: full overhead flatlay. Show the whole world.
Styling tricks that pull the frame into reality
Real food photographers spend more time styling than shooting. AI prompts should too. The details that make a frame feel shot, not rendered:
- Imperfection — one crumb falling off the plate, a small fingerprint on the glass, a slightly uneven garnish. Perfect plating reads AI. Slightly imperfect plating reads real.
- Condensation and steam — visible condensation on the cold glass, gentle steam rising from the soup. Temperature cues sell the photo.
- Action — mid-pour of olive oil, a hand holding the spoon entering from the right, sauce mid-drip. Stops the eye.
- Props with intent — a crumpled linen napkin, scattered ingredients, a wooden spoon resting at an angle. Never centered. Always casual.
- Negative space and crop — generous negative space on the left for headline text, tight crop showing only the cheese pull. Tells the model the photo is for a purpose.
Tip: Pick one or two styling moves per shot. Five at once turns the frame into chaos. Less is more — but specific.
Copy-paste templates by use case
These are the templates I keep in a working doc. Swap the dish description; keep the rest.
Restaurant menu hero shot
[Dish with texture-rich ingredient description], plated on [restaurant-style dish and surface], soft directional window light from the left with deep natural shadow, shot on a 50mm lens at f2.8 from a classic 45-degree three-quarter angle, [one styling action — sauce drip, steam, garnish placement], rich warm restaurant palette, editorial food photography, hyperrealistic, magazine quality
Cookbook recipe page
[Finished dish] in a [hand-thrown ceramic bowl / cast iron pan / vintage enamel plate], surrounded by [two or three raw ingredients used in the recipe], soft overhead natural light from a north window, shot on an 85mm lens at f4 from a 90-degree flatlay angle, scattered crumbs and a linen napkin in the corner, muted earthy palette with one pop of color, editorial cookbook photography, hyperrealistic, generous negative space for recipe text
Social media (Instagram square)
Tight crop on [most photogenic part of the dish — the cheese pull, the sauce drizzle, the cut-open interior], shallow depth of field with a soft blurred background, bright side window light, shot on a 100mm macro lens at f2.0, single bead of condensation or oil droplet catching the light, vibrant saturated palette, square 1:1 composition, editorial food photography, hyperrealistic, scroll-stopping
Dark and moody hero (steakhouse, cocktail bar)
[Indulgent dish — steak, ribs, cocktail, chocolate dessert], on [dark slate or aged wood], single warm tungsten light from the upper right, deep shadows falling into pure black, shot on an 85mm lens at f2.0 from a low hero angle, gentle steam rising or condensation on the glass, chiaroscuro lighting, rich amber and burgundy palette, editorial food photography, restaurant interior mood, hyperrealistic
Bright and airy breakfast / cafe
[Breakfast dish — pancake stack, acai bowl, latte] on [white marble or pale ceramic], bright soft diffused overhead daylight, shot on a 50mm lens at f3.5 from a 45-degree angle, scattered fresh berries and a drizzle of [honey/syrup] mid-pour, high-key bright palette, soft pastel cafe mood, editorial food photography, hyperrealistic, generous negative space
Midjourney V7 vs Nano Banana 2 for food
Both models can ship usable food photos. The sweet spots are different.
Midjourney V7
- Better at: moody editorial frames, dramatic lighting, painterly atmosphere, textured rustic dishes, dessert and chocolate close-ups.
- Weaker at: very specific dishes (regional cuisines, brand-specific items), readable text on packaging, exact ingredient counts ("exactly six dumplings").
- Parameters to try:
--ar 4:5 --style raw --stylize 200for editorial; drop to--stylize 50for documentary realism; push to--stylize 500for stylized brand work. - Aspect ratios:
--ar 4:5for menu and cookbook,--ar 1:1for social,--ar 16:9for hero banners.
Nano Banana 2
- Better at: plating accuracy, exact ingredient lists, brand-consistent shots across a series, photorealistic everyday food (sandwiches, salads, takeout).
- Weaker at: highly stylized atmospheric moods, painterly textures, "art direction" outside its training comfort zone.
- How to push it: be more verbose about lighting and camera. Nano Banana follows instructions literally — feed it the full five-part recipe and it executes.
- Reference images: attach a styling reference of the surface, plate or lighting mood you want and tell it explicitly to match.
If you're shooting a full menu, pick one model and stay there for the entire shoot. Cross-model series almost always have visible style drift.
The finishing details that separate AI from editorial
Five small additions that consistently move a render from "AI food" to "could be in a magazine":
- Always name the surface. "Aged oak board, hand-thrown ceramic, white Carrara marble, brushed steel, vintage enamel." Never just "table".
- Add one specific prop. "A small ramekin of mustard, a crumpled linen napkin, a single sprig of thyme on the side." It anchors the frame in a real kitchen.
- Name a color palette. "Warm amber and deep burgundy, muted sage and cream, high-key white and pastel pink." Stops the model defaulting to beige.
- Add a temperature cue. Steam, condensation, melt, sweat on the glass, sizzle on the pan. Sells the food as alive.
- Crop for purpose. Always tell the model what the photo is for — menu, cookbook, social, web banner. The framing changes accordingly.
If you want the prompt skeleton in a more general-purpose form, the PromptMint AI Prompt Generator will build the full five-part structure from a single line of input. For deeper realism techniques that carry across food and product work, see the Realistic AI Images Guide, and for adjacent commercial styling, the AI Product Photography Prompts playbook covers the same lighting language applied to objects.
A worked end-to-end example
A small restaurant wants three menu shots: a hero burger, a flatlay pasta, a moody dessert. Same model, same session, same color logic.
Shot 1 — Hero burger
A juicy double smash burger with melted American cheese dripping down the side, charred crust on the patty, toasted sesame brioche bun with visible flour, on a dark slate board with scattered flaky sea salt, soft directional window light from the left with deep natural shadow, shot on a 50mm lens at f2.8 from a low 30-degree hero angle, glossy cheese pull mid-stretch, rich warm amber and dark mahogany palette, editorial food photography, hyperrealistic, magazine quality --ar 4:5 --style raw --stylize 200
Shot 2 — Flatlay pasta
A wide shallow ceramic bowl of glossy hand-cut tagliatelle in brown butter and sage, topped with shaved parmesan and cracked black pepper, on an aged oak table with a crumpled linen napkin, a small wooden pepper mill and a few stray sage leaves, soft overhead daylight from a single window, shot on an 85mm lens at f4 from a 90-degree flatlay angle, warm amber and deep brown palette matching the hero, editorial food photography, hyperrealistic, magazine quality, generous negative space on the right --ar 4:5 --style raw --stylize 200
Shot 3 — Moody dessert
A wedge of dark chocolate flourless cake with a glossy ganache top, a single quenelle of crème fraîche beside it, dusted with cocoa powder, on a dark slate plate with one gold fork, single warm tungsten light from the upper right, deep shadows falling into pure black, shot on an 85mm lens at f2.0 from a low hero angle, gentle wisp of steam from the cake, rich amber and burgundy palette tying back to the burger, editorial food photography, hyperrealistic, magazine quality --ar 4:5 --style raw --stylize 200
Three shots, one visual world, ready to drop into a menu.
The takeaway
Stop prompting food like a search engine. Prompt it like a working food photographer — dish and textures first, then surface, then light direction, then camera language, then styling, then mood. Lock in one model per project, pick one palette, and add one or two imperfections per frame. The gap between "AI render of a plate" and "magazine quality" is almost entirely in the prompt.
Frequently asked questions
What's the best AI model for food photography in 2026?+
Both Midjourney V7 and Nano Banana 2 can produce editorial-quality food photography. Midjourney V7 is better for moody, atmospheric and textured shots. Nano Banana 2 is more literal and better for plating accuracy, brand-consistent series and photorealistic everyday food. Pick one and stay with it for a whole project to avoid style drift.
Why does my AI food photography look fake or plasticky?+
The most common cause is vague lighting and missing texture words. Replace 'professional lighting' with a specific direction and quality (e.g. 'soft window light from the left with deep natural shadow'). Add at least one texture word per ingredient: crispy, charred, glossy, flaky, glistening, caramelized. These two changes alone move most renders from 'AI render' to 'editorial photo'.
What camera and lens should I prompt for food photography?+
A 50mm lens at f2.8 for classic hero plating, an 85mm at f2.0 for compressed shallow-depth shots, and a 100mm macro at f2.8 for tight texture crops. For overhead flatlays, prompt for a 50mm at f4. Always combine the lens, aperture and a specific angle (15-degree low, 45-degree three-quarter, 90-degree overhead) for the cleanest results.
How do I keep a consistent look across a full menu or cookbook?+
Lock four variables: model, lighting setup, color palette and aspect ratio. Generate the entire series in a single session, reusing the same lighting language and the same one or two palette descriptors in every prompt. Change only the dish and a single styling detail per shot. Avoid switching between Midjourney and Nano Banana mid-project.
What's the best aspect ratio for AI food photography?+
Use 4:5 for menus, cookbooks and Instagram portrait posts (the most-shared food ratio), 1:1 for square Instagram feed shots, and 16:9 for web banners and YouTube thumbnails. Tell the model where to leave negative space if the photo will carry text.